When
all the doors and access to the Titan I complex are closed and locked,
the site is considered to be "Hard" indicating that it is
safeguarded to the highest degree possible against attack.
When
a silo, antenna silo, portal elevator or any other access to the interior
of the complex is open, the site is considered vulnerable to attack
and is "Soft".
The
complex is basically a series of inter-connecting tubes, and if a
nuclear explosion were to occur near the site while soft without any
safeguards, the enormous pressure from the blast could potentially
travel down through any openings wreaking destruction on the complex.
Similarly,
liquid-fueled rockets are extremely dangerous. Liquid oxygen in
particular, is highly reactive and quite touchy about how it is stored
and handled. There is every reason to believe that through
accident or extreme misfortune that a deeply disconcerting explosion
(with loud report) could result from inside the complex owing
to the cantankerous nature of the propellants or other volatile
substances in abundance throughout.
The
gravity these realities were not lost on the designers who were
charged with keeping the site operational and the crew alive under the
extremely adverse conditions of a nuclear war.
Enter
the blast locks-- their job is to contain or minimize damage to the
complex. They work by simply isolating the missile launchers
from each other and the rest of the complex from the launchers using a
set of 2 interlocking blast doors in a corridor. Electronically
the blast doors are controlled so that only one door can be open at
once ensuring that there is never an open passage connecting the
tunnels on both sides of the blast lock.
With
the blast locks an explosion at launcher #1 should be contained
instead of sending a wave of devastation down the tunnels to the other
2 launchers and the rest of the complex. Launch capability would
be maintained despite the loss of 1 or even 2 missiles.
|

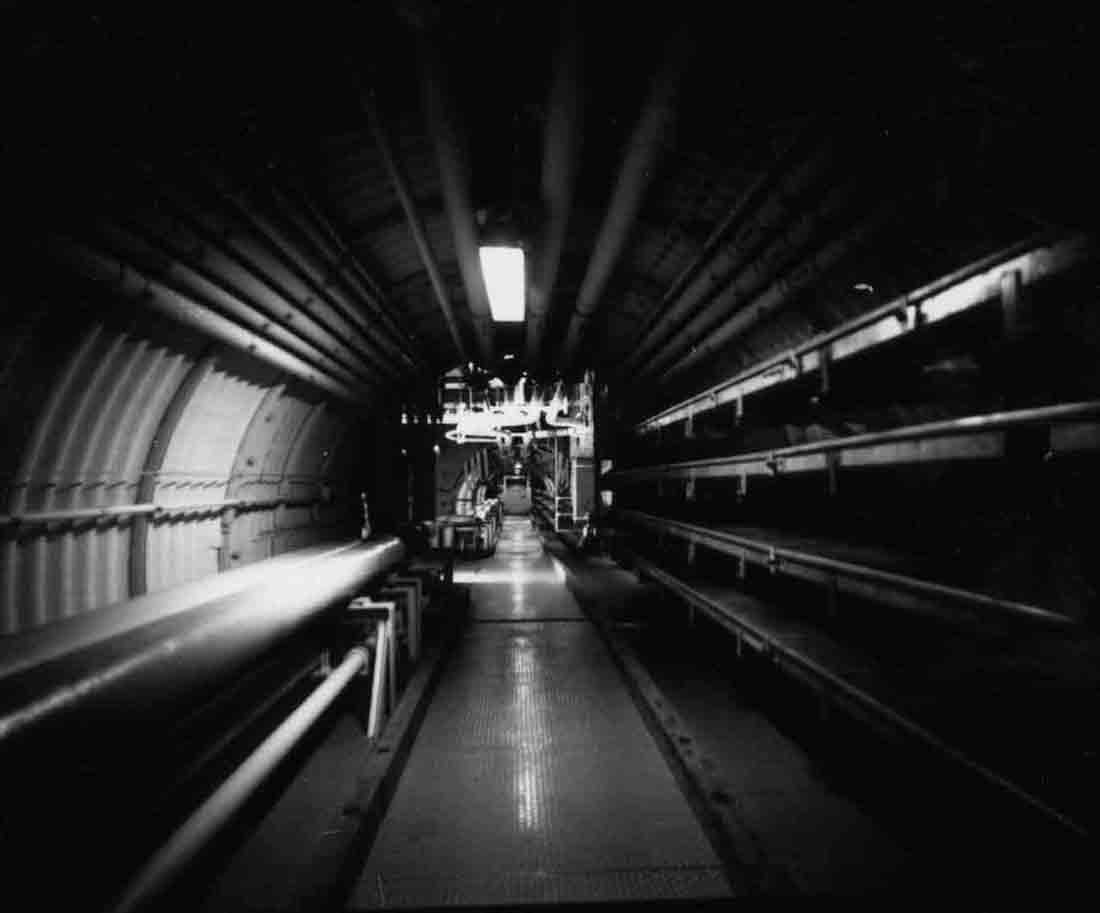
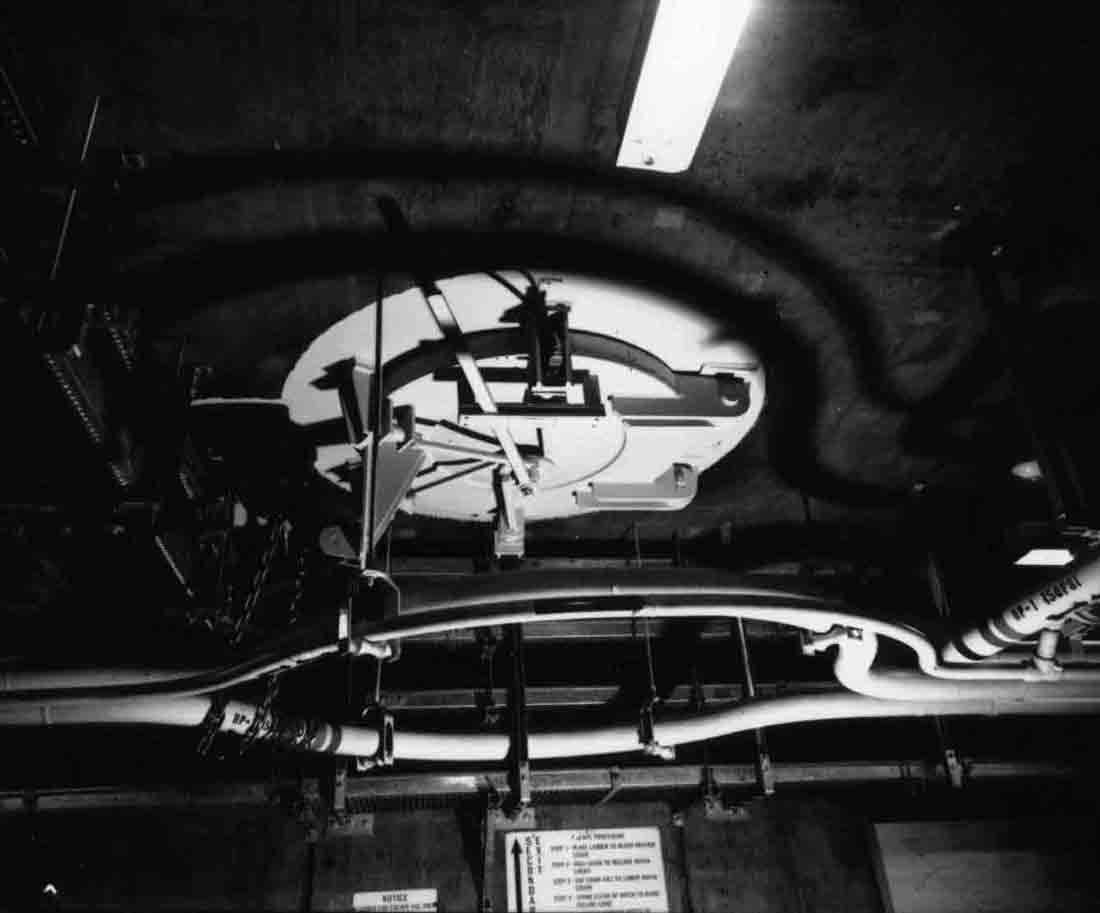
Blast
lock #2 today. The escape hatch hangs opens allowing 40 years of
rain into the complex. The opening at the surface is covered by a
multi-ton block of reinforced concrete.
|
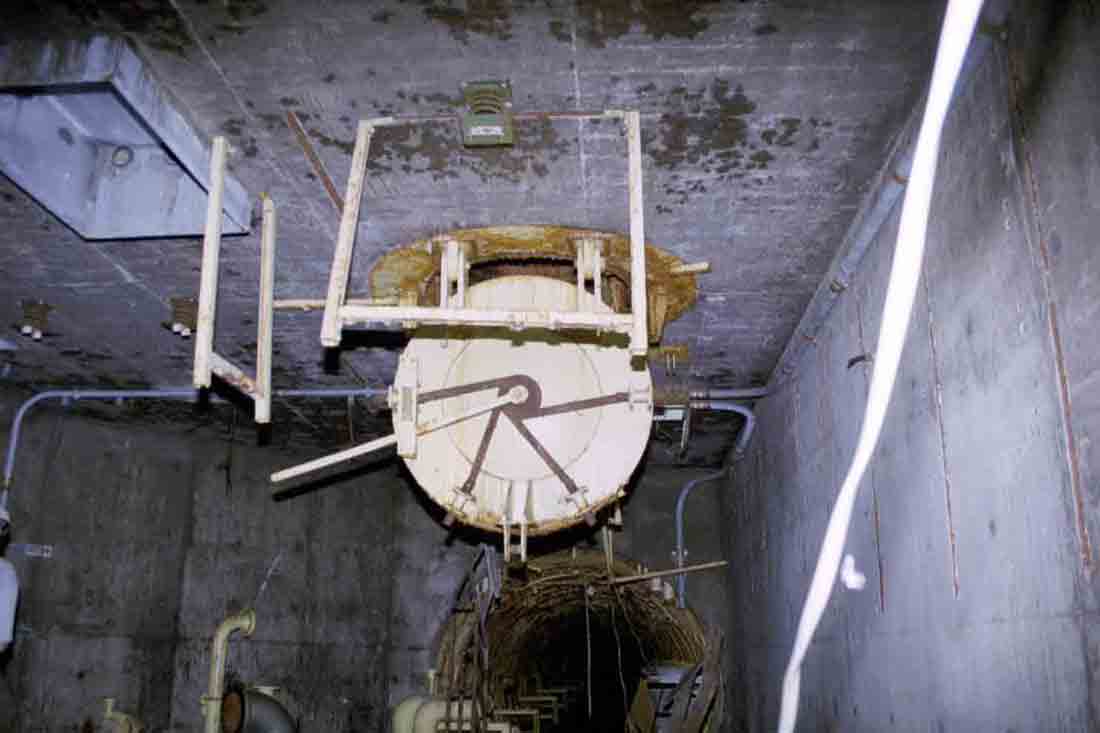
The
escape tunnel claims a fair number of unfortunate rabbits who
undoubtedly dive for cover under the concrete blocking the opening and
fall to their doom in blast lock #2. A small pile of corpses in
various stages of liquefaction rests
directly underneath the open hatch. Yuck.
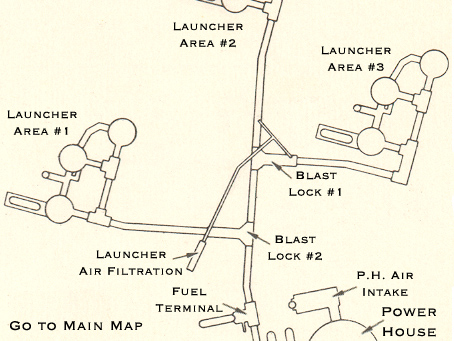
The
blast doors are to the left in the above picture. Straight ahead
leads to blast lock #1 and launchers #2 and #3.
|
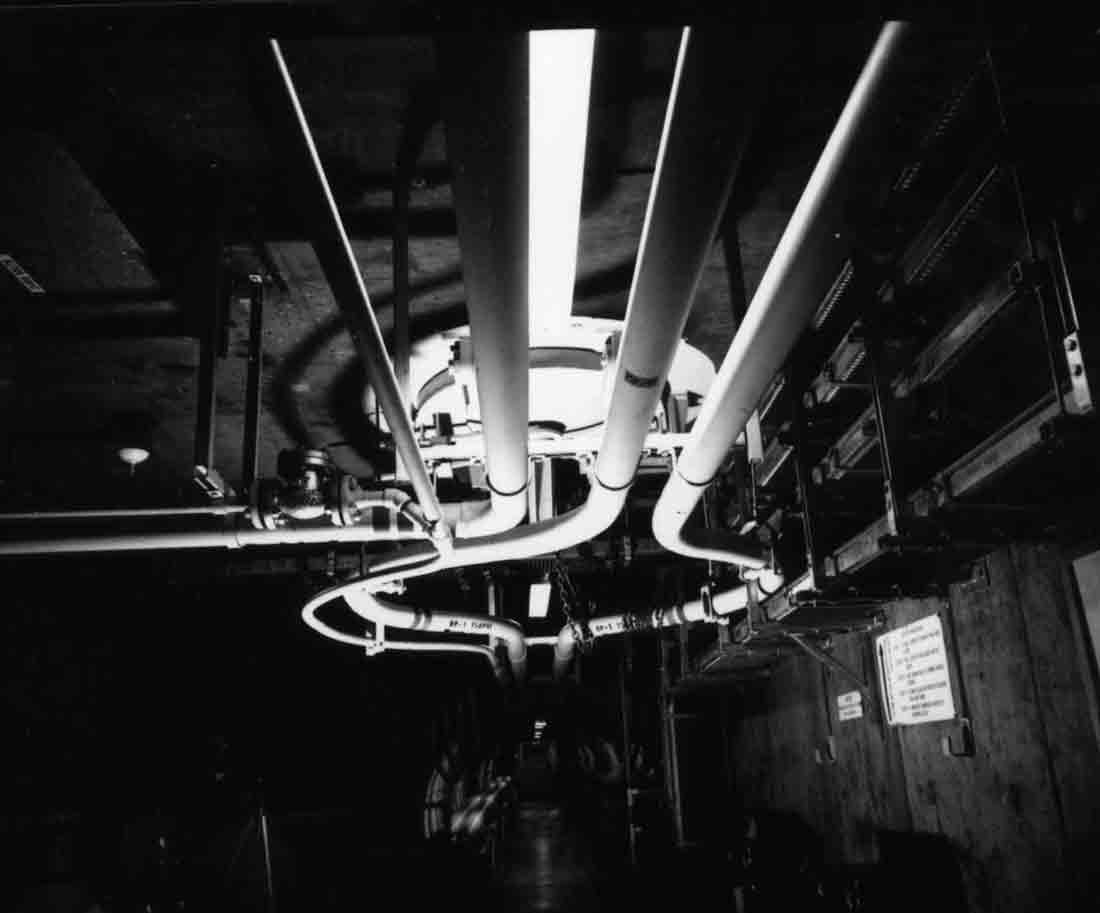
A
better view of the escape hatch. To the left is blast lock #1 and
to the right is the fuel terminal and the main tunnel junction.
|
|
One
more shot of the escape hatch. Last one, I promise.
Curiously enough, the electrical cable in the right foreground snakes
through the complex and up to the surface. Not sure what it was
for specifically, or why it was circuitously routed as it was through
the tunnels and not down the entry portal. Curiouser and
curiouser...
|
|
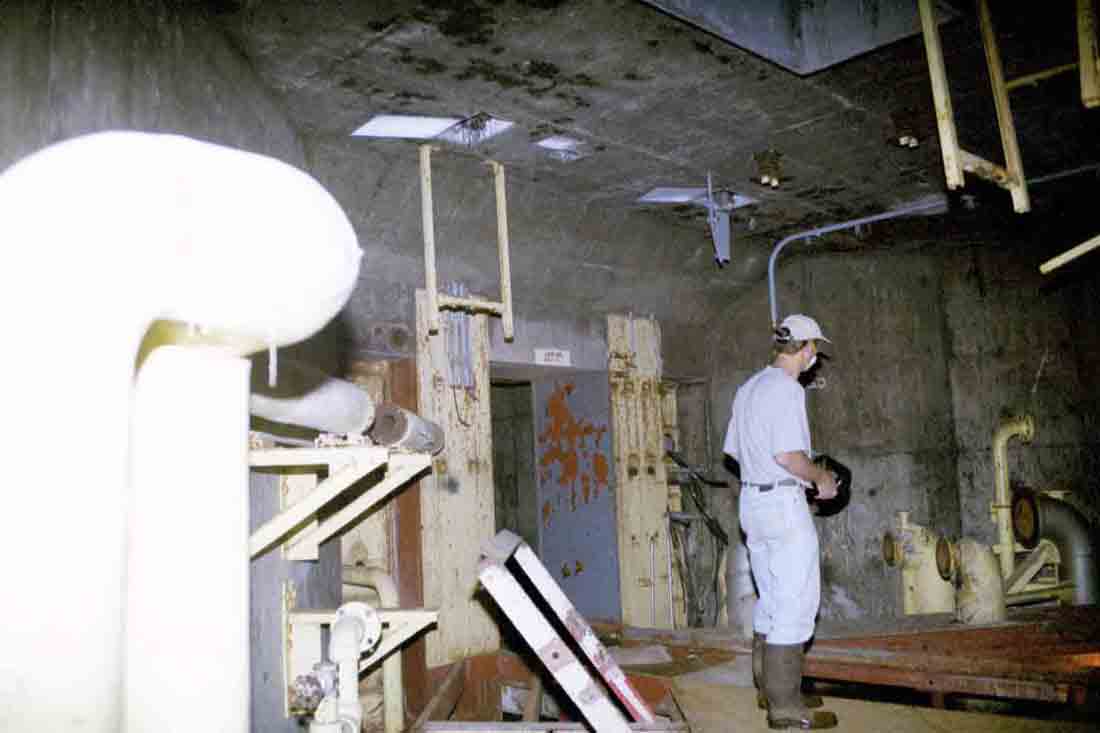
The
opening to the first blast door is shown here along with the devastated
blast lock. I had to tiptoe carefully along support beams in most
of this area though a few bits of flooring remained as demonstrated by
the apparition standing right of center.
|
Above
the door is a painted sign that reads "Launcher Area No. 1",
which would seem unnecessary but I must admit that the complex can be
very very disorienting to traverse. Many times I have taken a
wrong turn and found myself pushing deeper into the tunnels instead of
moving towards the exit as intended.
|
A
view of the first blast door heavily exfoliating lead-based paint to
mingle with the asbestos and other lovely contaminants found all
around. The door still swings smoothly on its hinges-- they just
don't make blast doors like they used to.
|
|
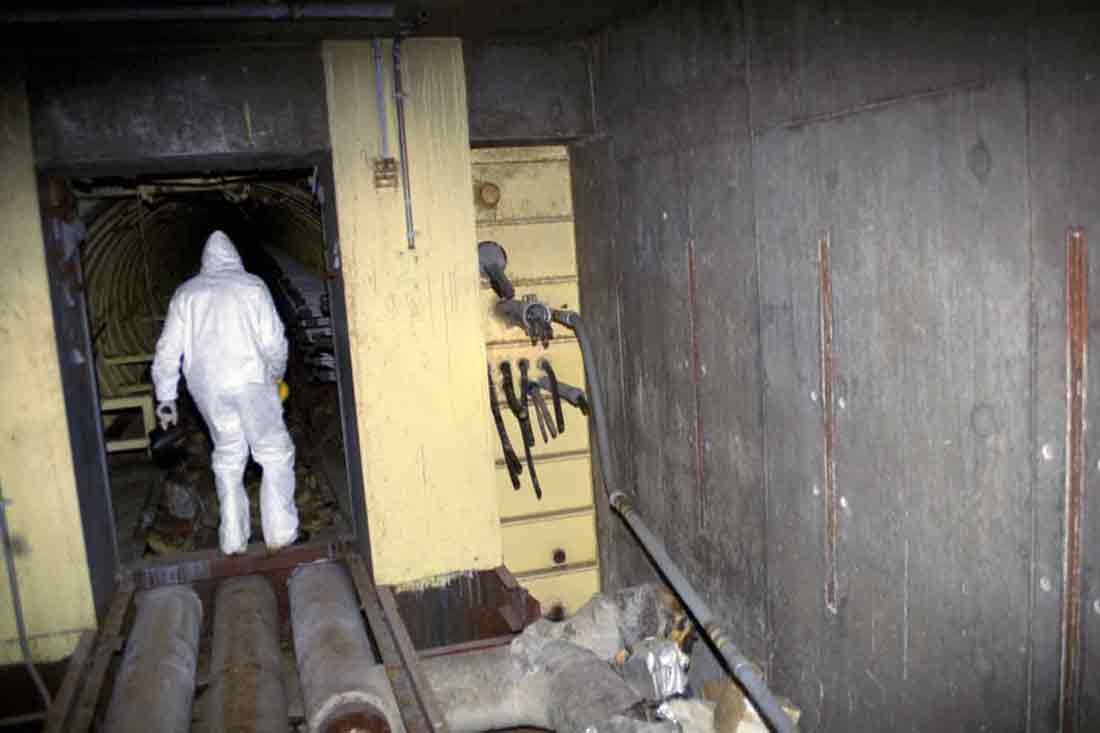
Here
a friendly silo gnome leads the way through the second blast door and
onward to launcher #1
|
From
here you can move on to the launcher area, head to blast lock
#1, or select another location
below.
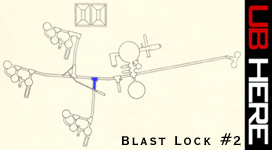
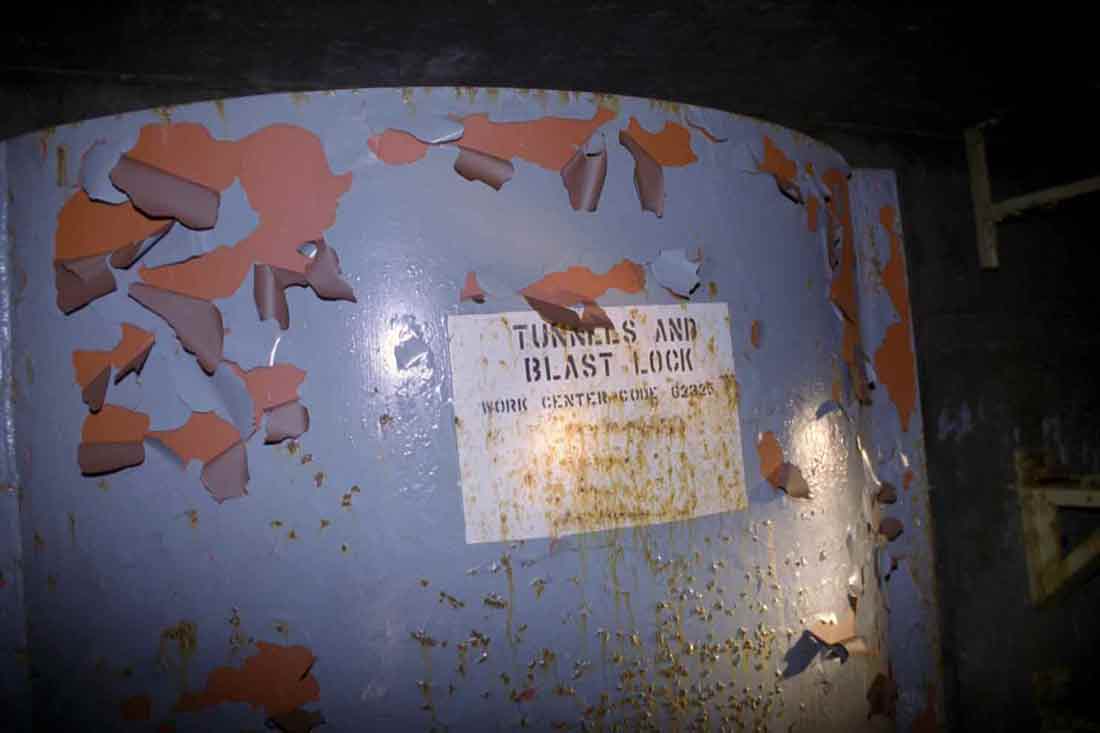
Current
Location: Blast Lock #2
|
Where
would you like to go next?
|

|
Contact
| Site Map | Links |
Hosted by
InfoBunker